Published 2023-11-17 Updated: 2026-01-23
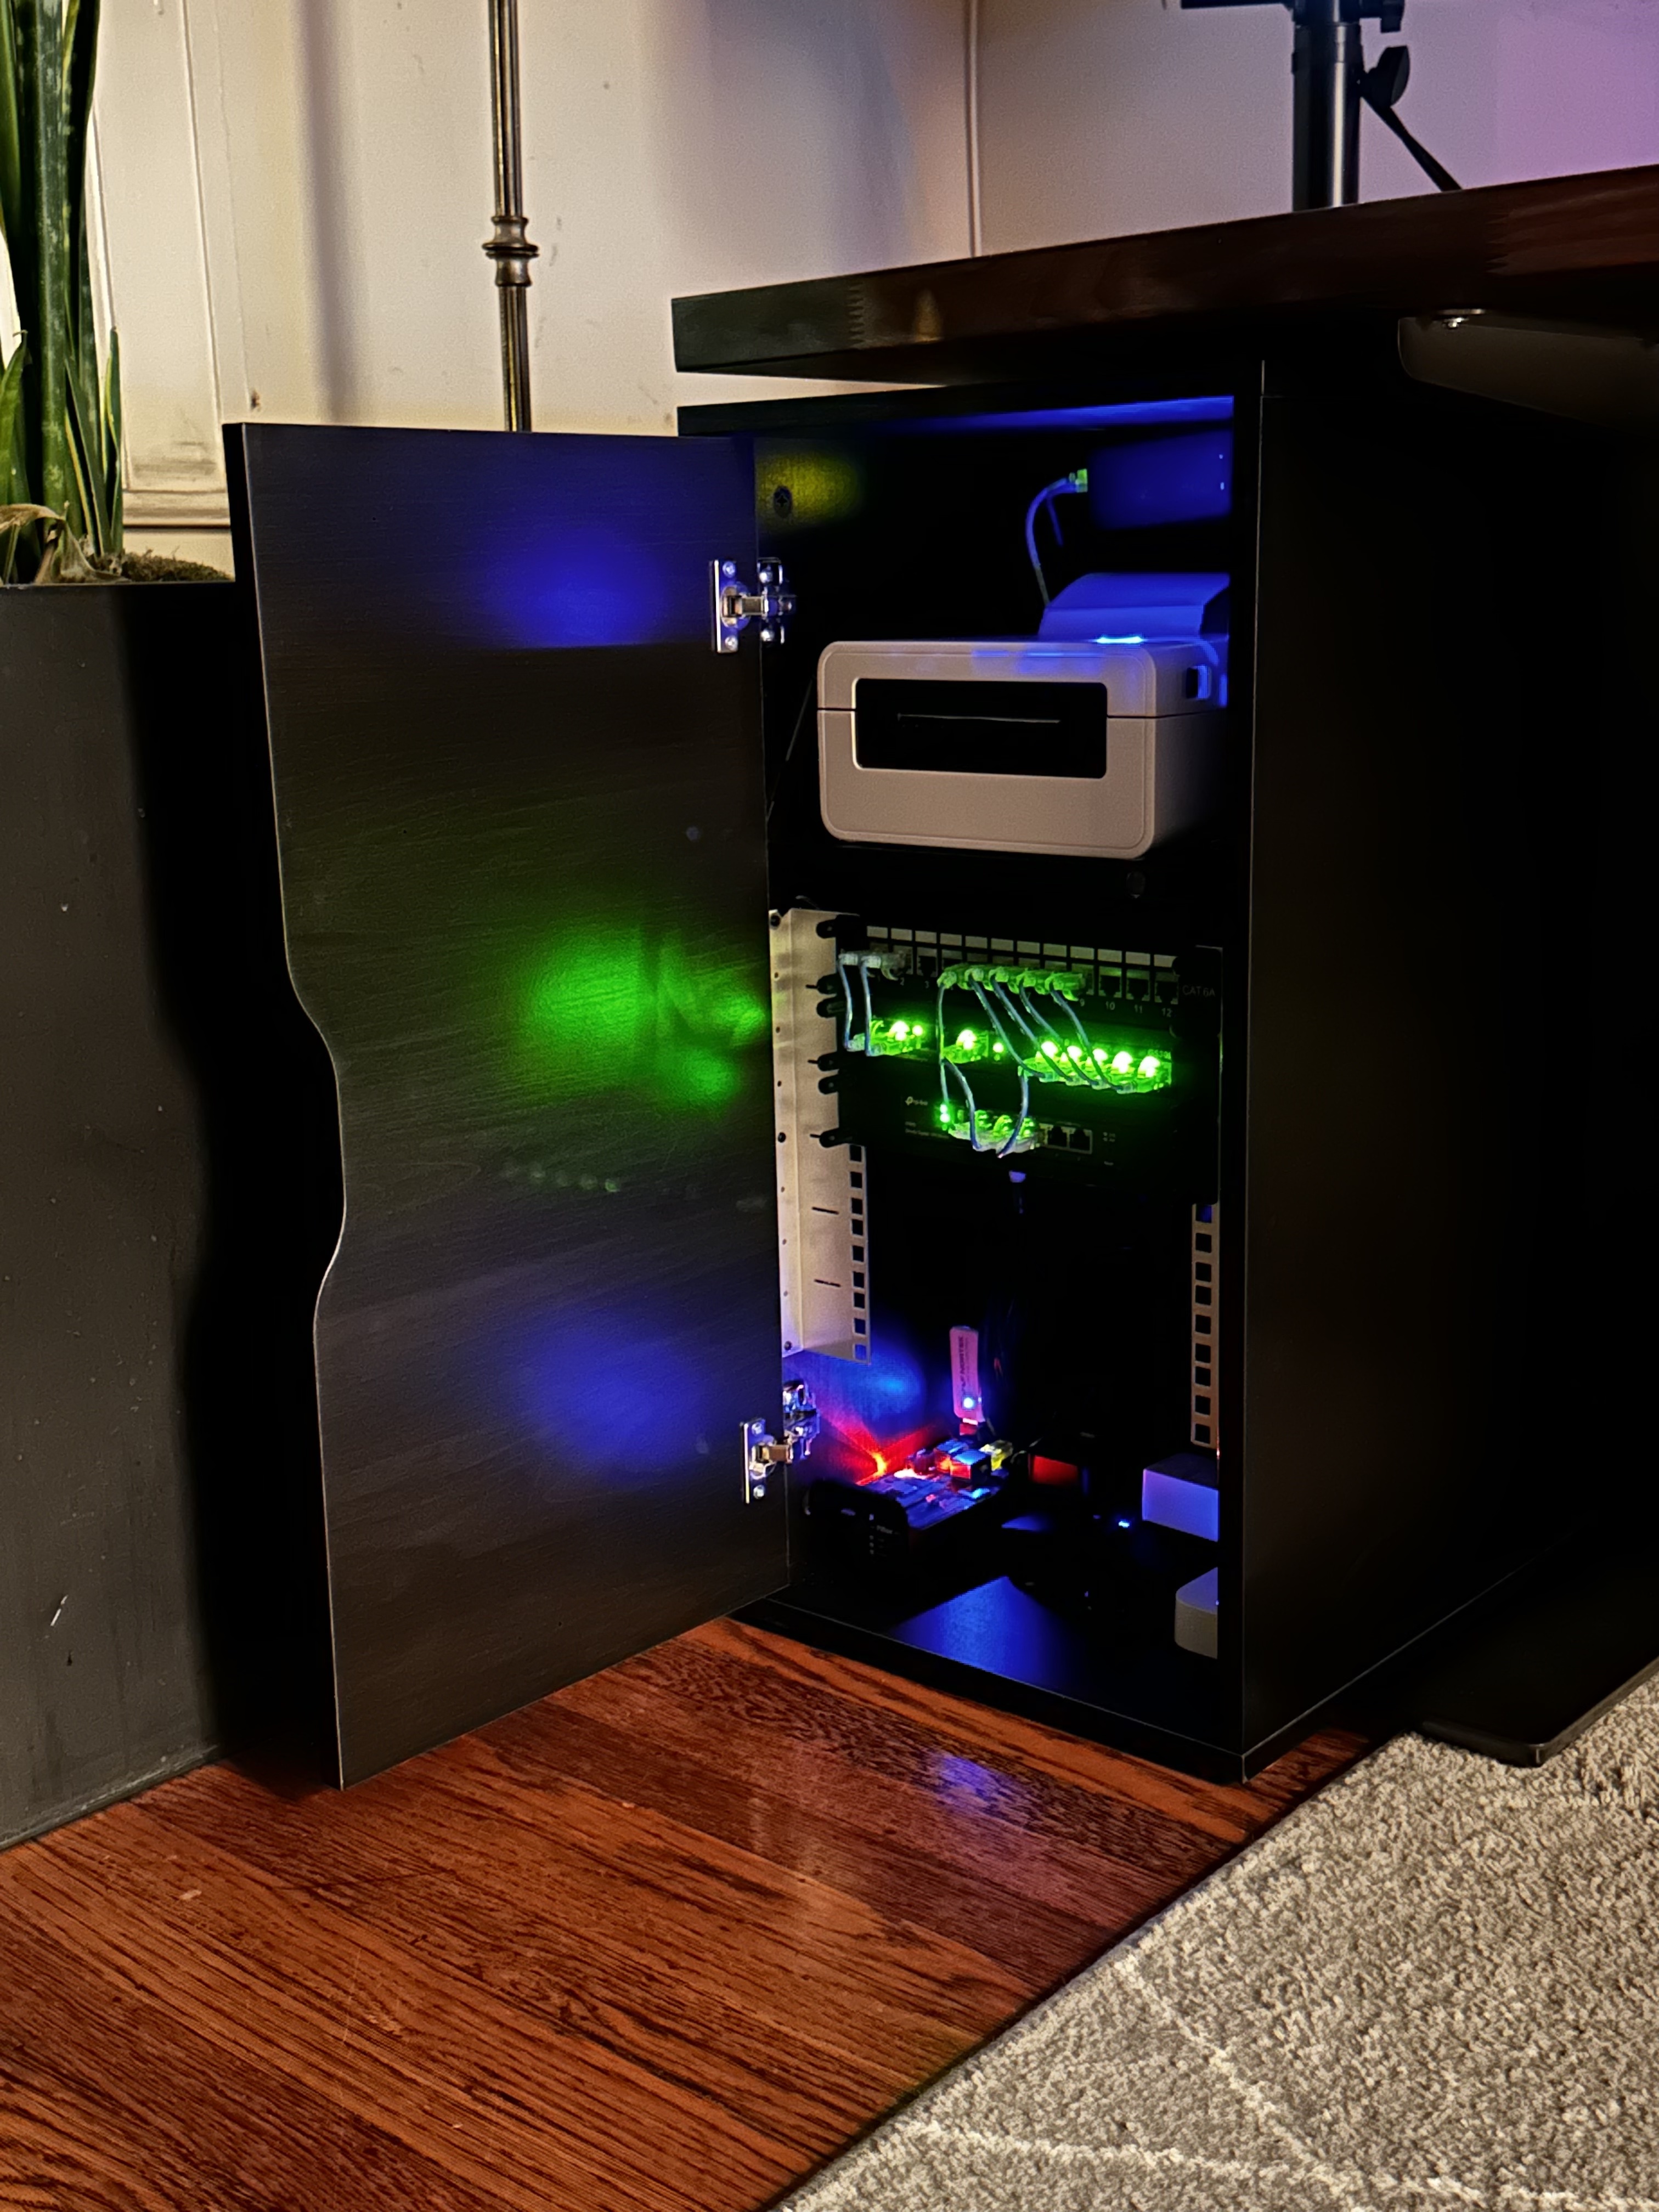
Although I wouldn't call them common, 10-inch server racks do seem to be gaining a little traction as a standard. I am able to find a small amount of gear sold for them such as patch panels, power distribution units, etc). Mikrotik also sells a good bit of compatible networking gear. For the rest of my commodity hardware, I'll have to 3D print a custom mount. This is my journey building my own custom 10-inch rack.

Disclosure: I earn a small commission from Amazon links
Furniture / Tools
Network gear:
I've wanted a way to organize my cables and miscellaneous servers for a long time. Despite wanting a full 42U Server Cabinet, I live in a tiny SF apartment without the room for one.
In addition, the devices I run servers on at home have gotten a lot smaller in recent years, and I've been using more mini PCs, Raspberry Pis, and PiBoxes. Frankly I've been in love with these Beelink N100 devices since they run at about ~6W TDP, cost ~$160, and can transcode multiple video streams easily. With these small boxes, I find it easier to divide my tasks onto a few physical machines rather than 1 giant machine split into many VMs.
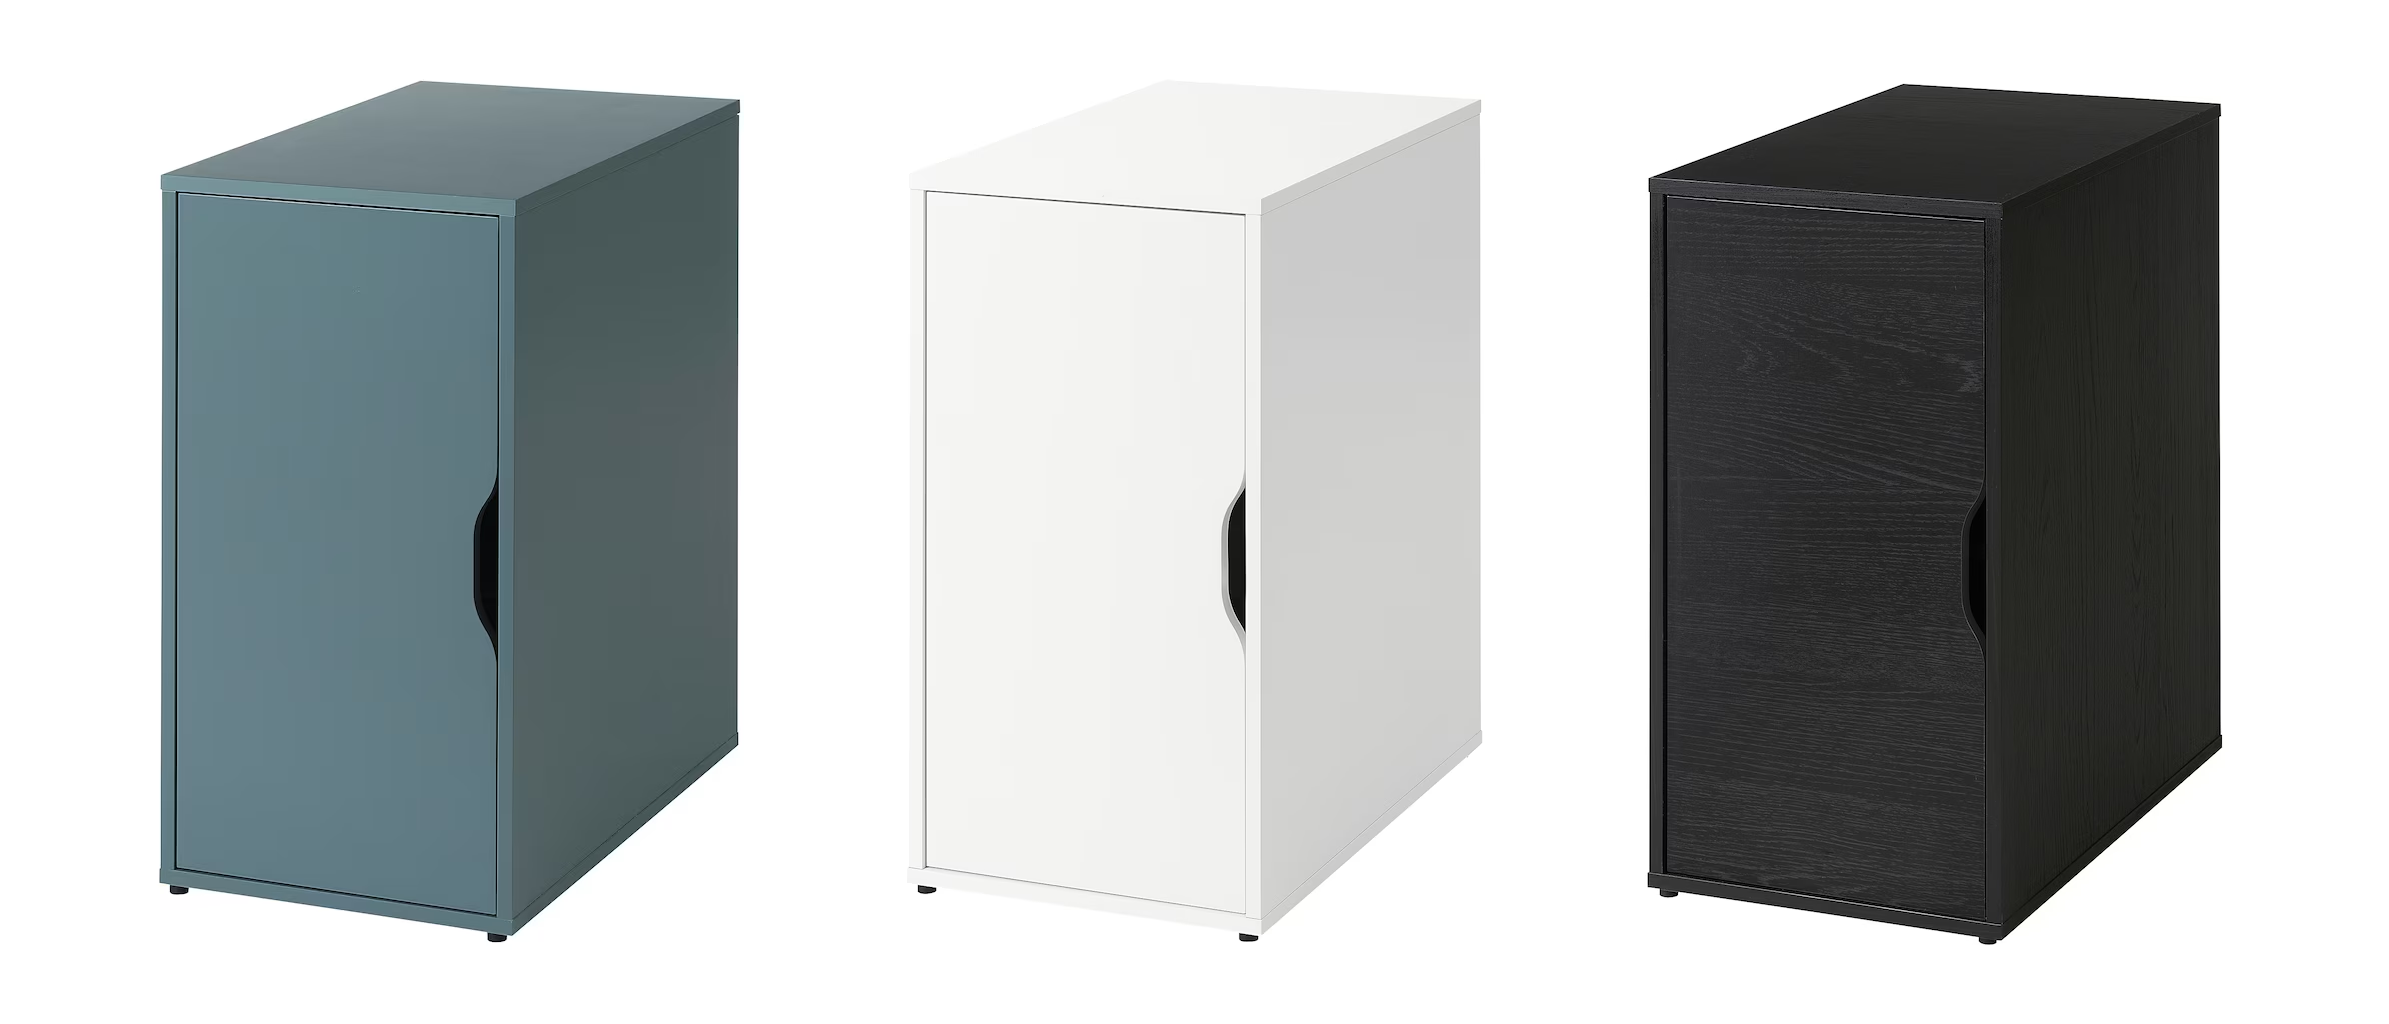
As I was debating between options, I decided even a short 19-inch rack was too ugly for a living space. Plus all of them are expensive! So I figured I could modify some IKEA furniture without breaking the bank. I narrowed it down to the Alex or Kallax, and finally went with the Alex since it fits nicely under a desk (without casters), and comes with a door.
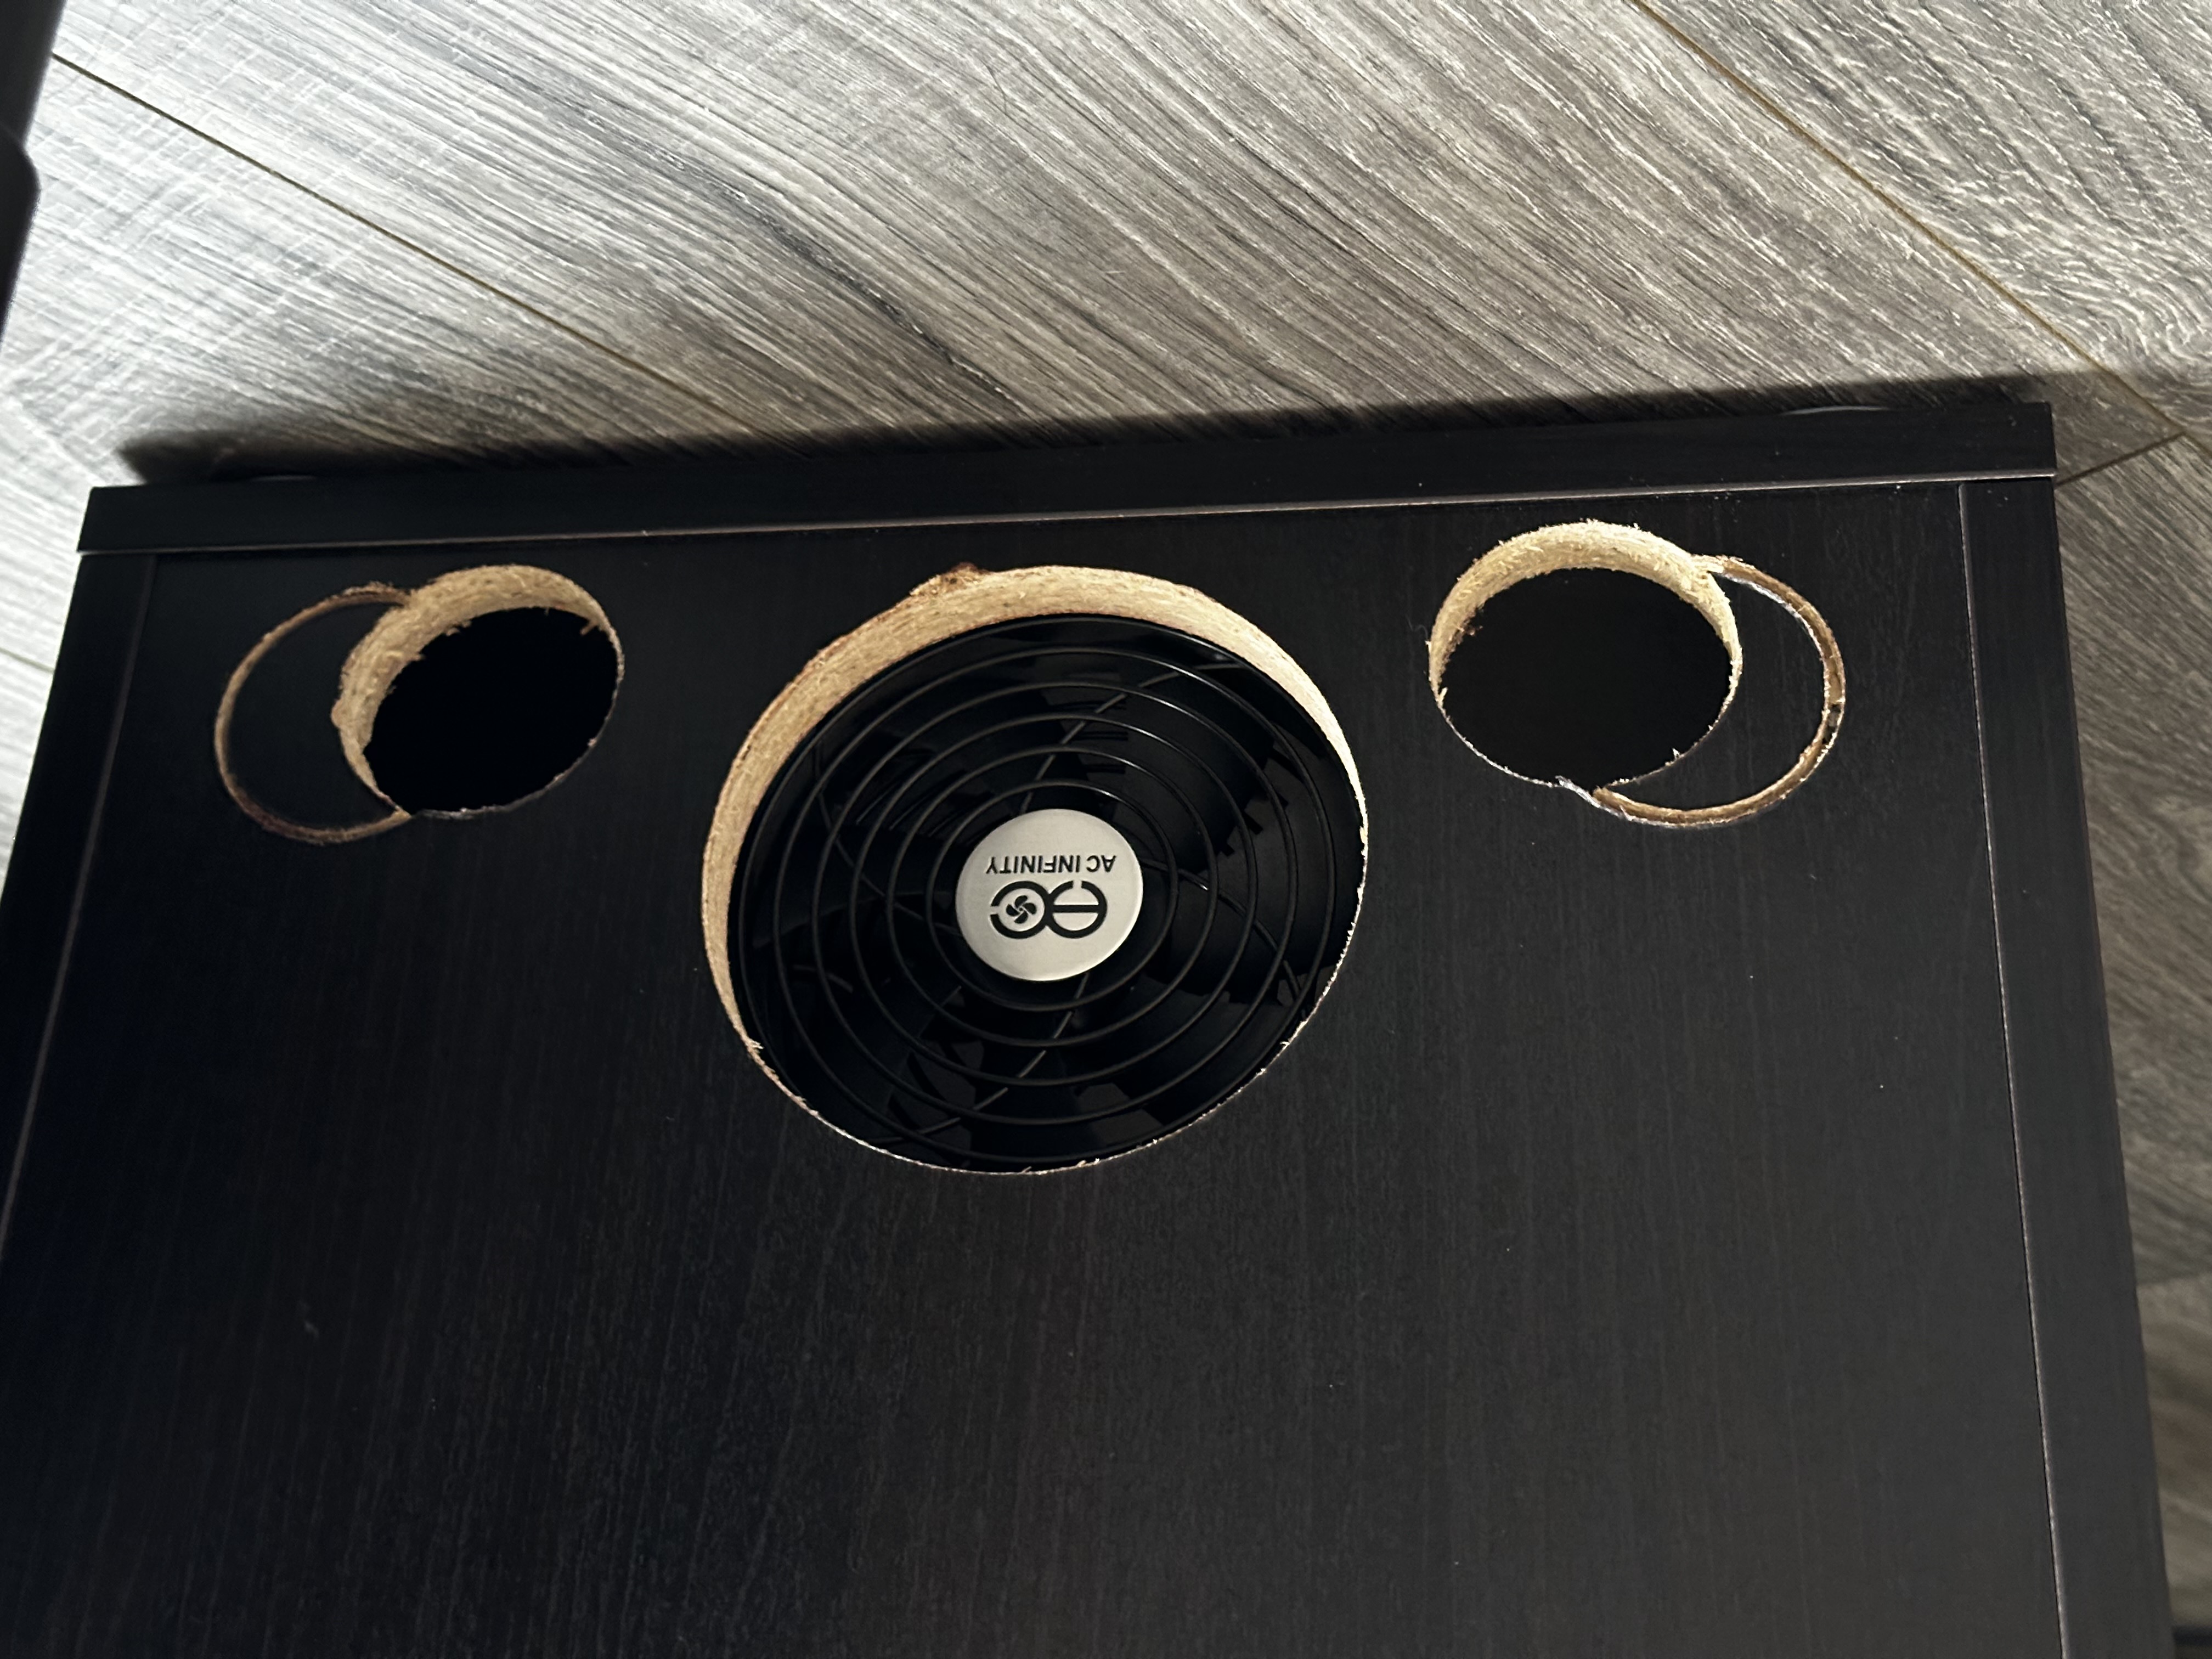
I didn't plan this out before cutting, and just eyeballed the holes into place. What I didn't realize is that I started cutting close to the sides, into the same area where the cams to hold the furniture together. Oops!
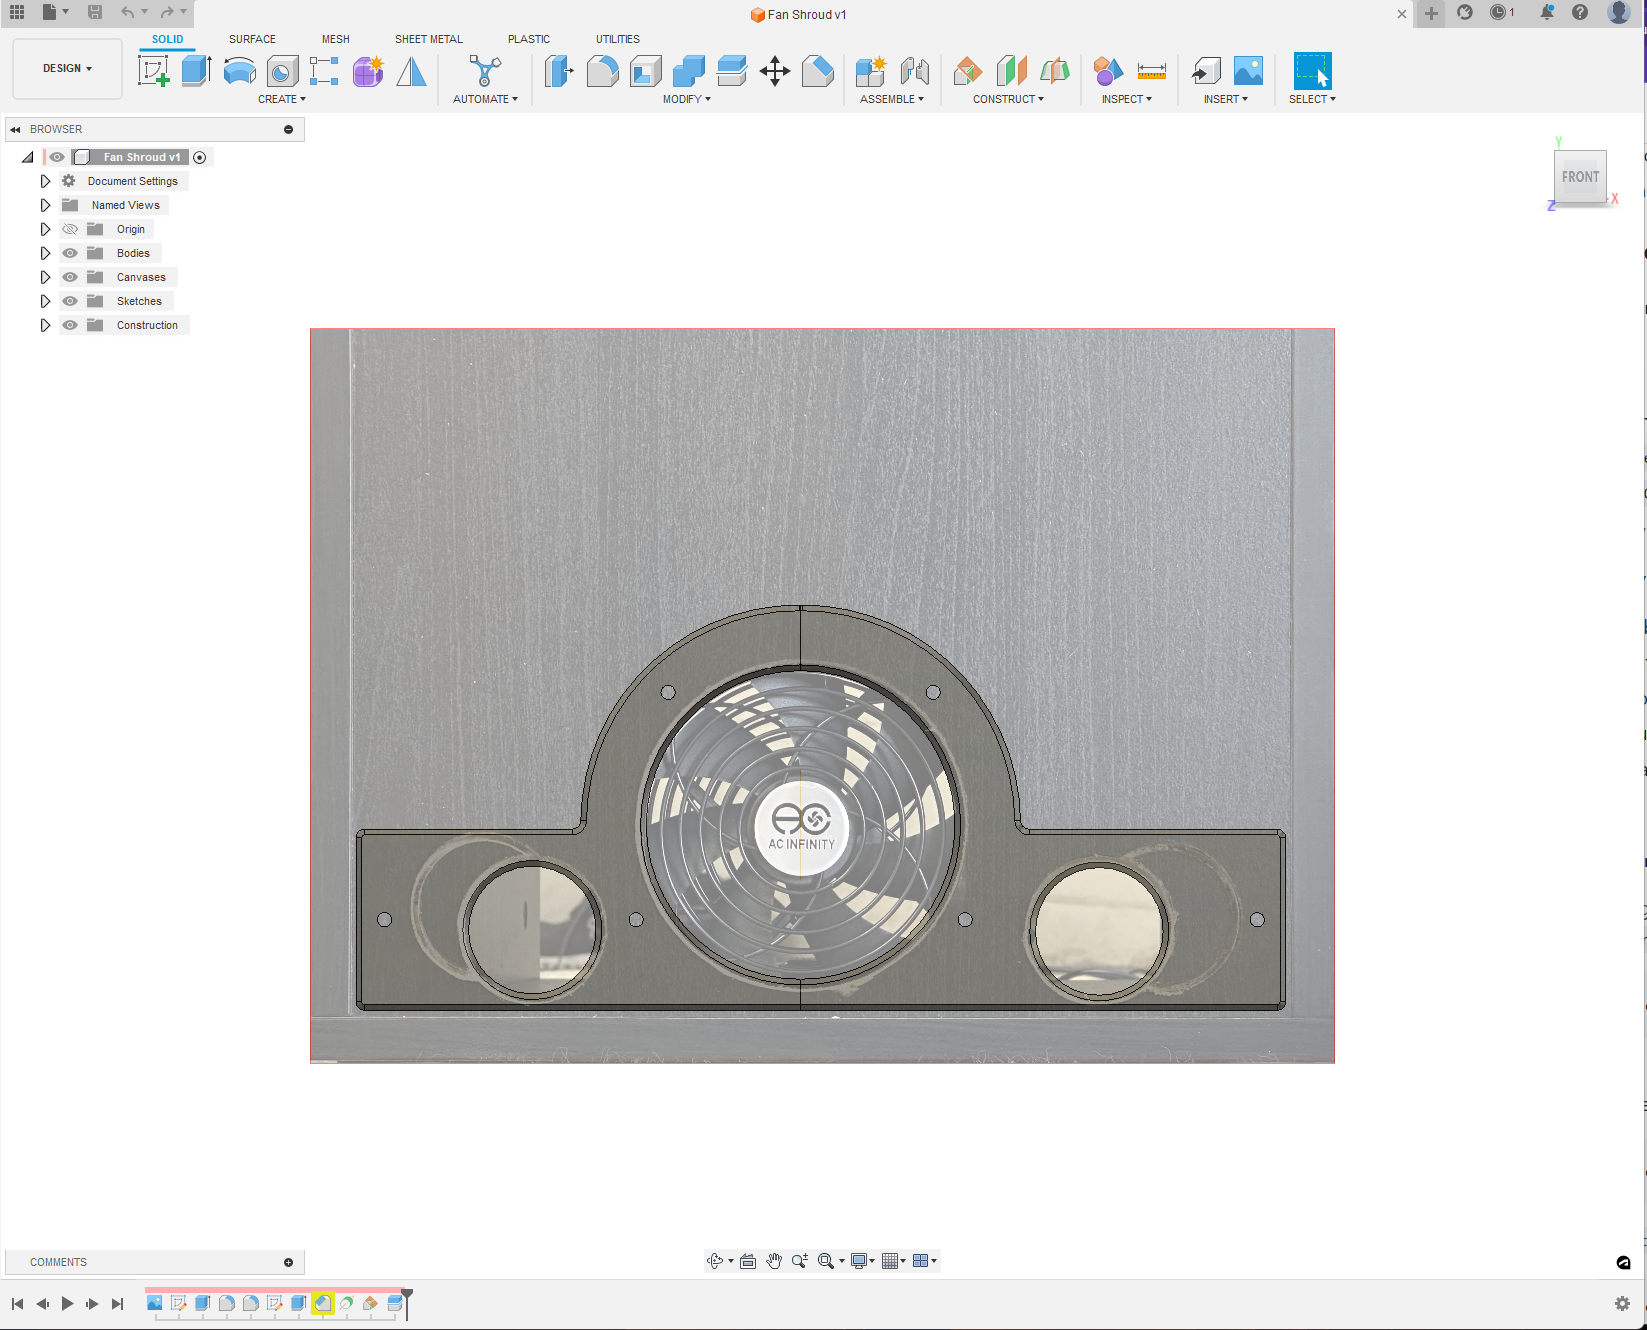
So I adjusted my cut inward and tried again. I wasn't initially going to cover these holes since they were facing a wall anyway, but now I'm embarrassed by my work 😅. So I took a picture of the back, imported it into Fusion, and scaled it to a known dimension (13-inch — the width of the cabinet). On top of that image, I sketched out a grommet that I can 3D print. Using the picture as reference, I made it just large enough to cover the mistakes, and positioned the holes without taking a ton of extra measurements.
If you plan on using this method to draw parts, make sure you stand back a ways to minimize distortion from the camera lens, and try to avoid taking it at an angle to minimize skew.
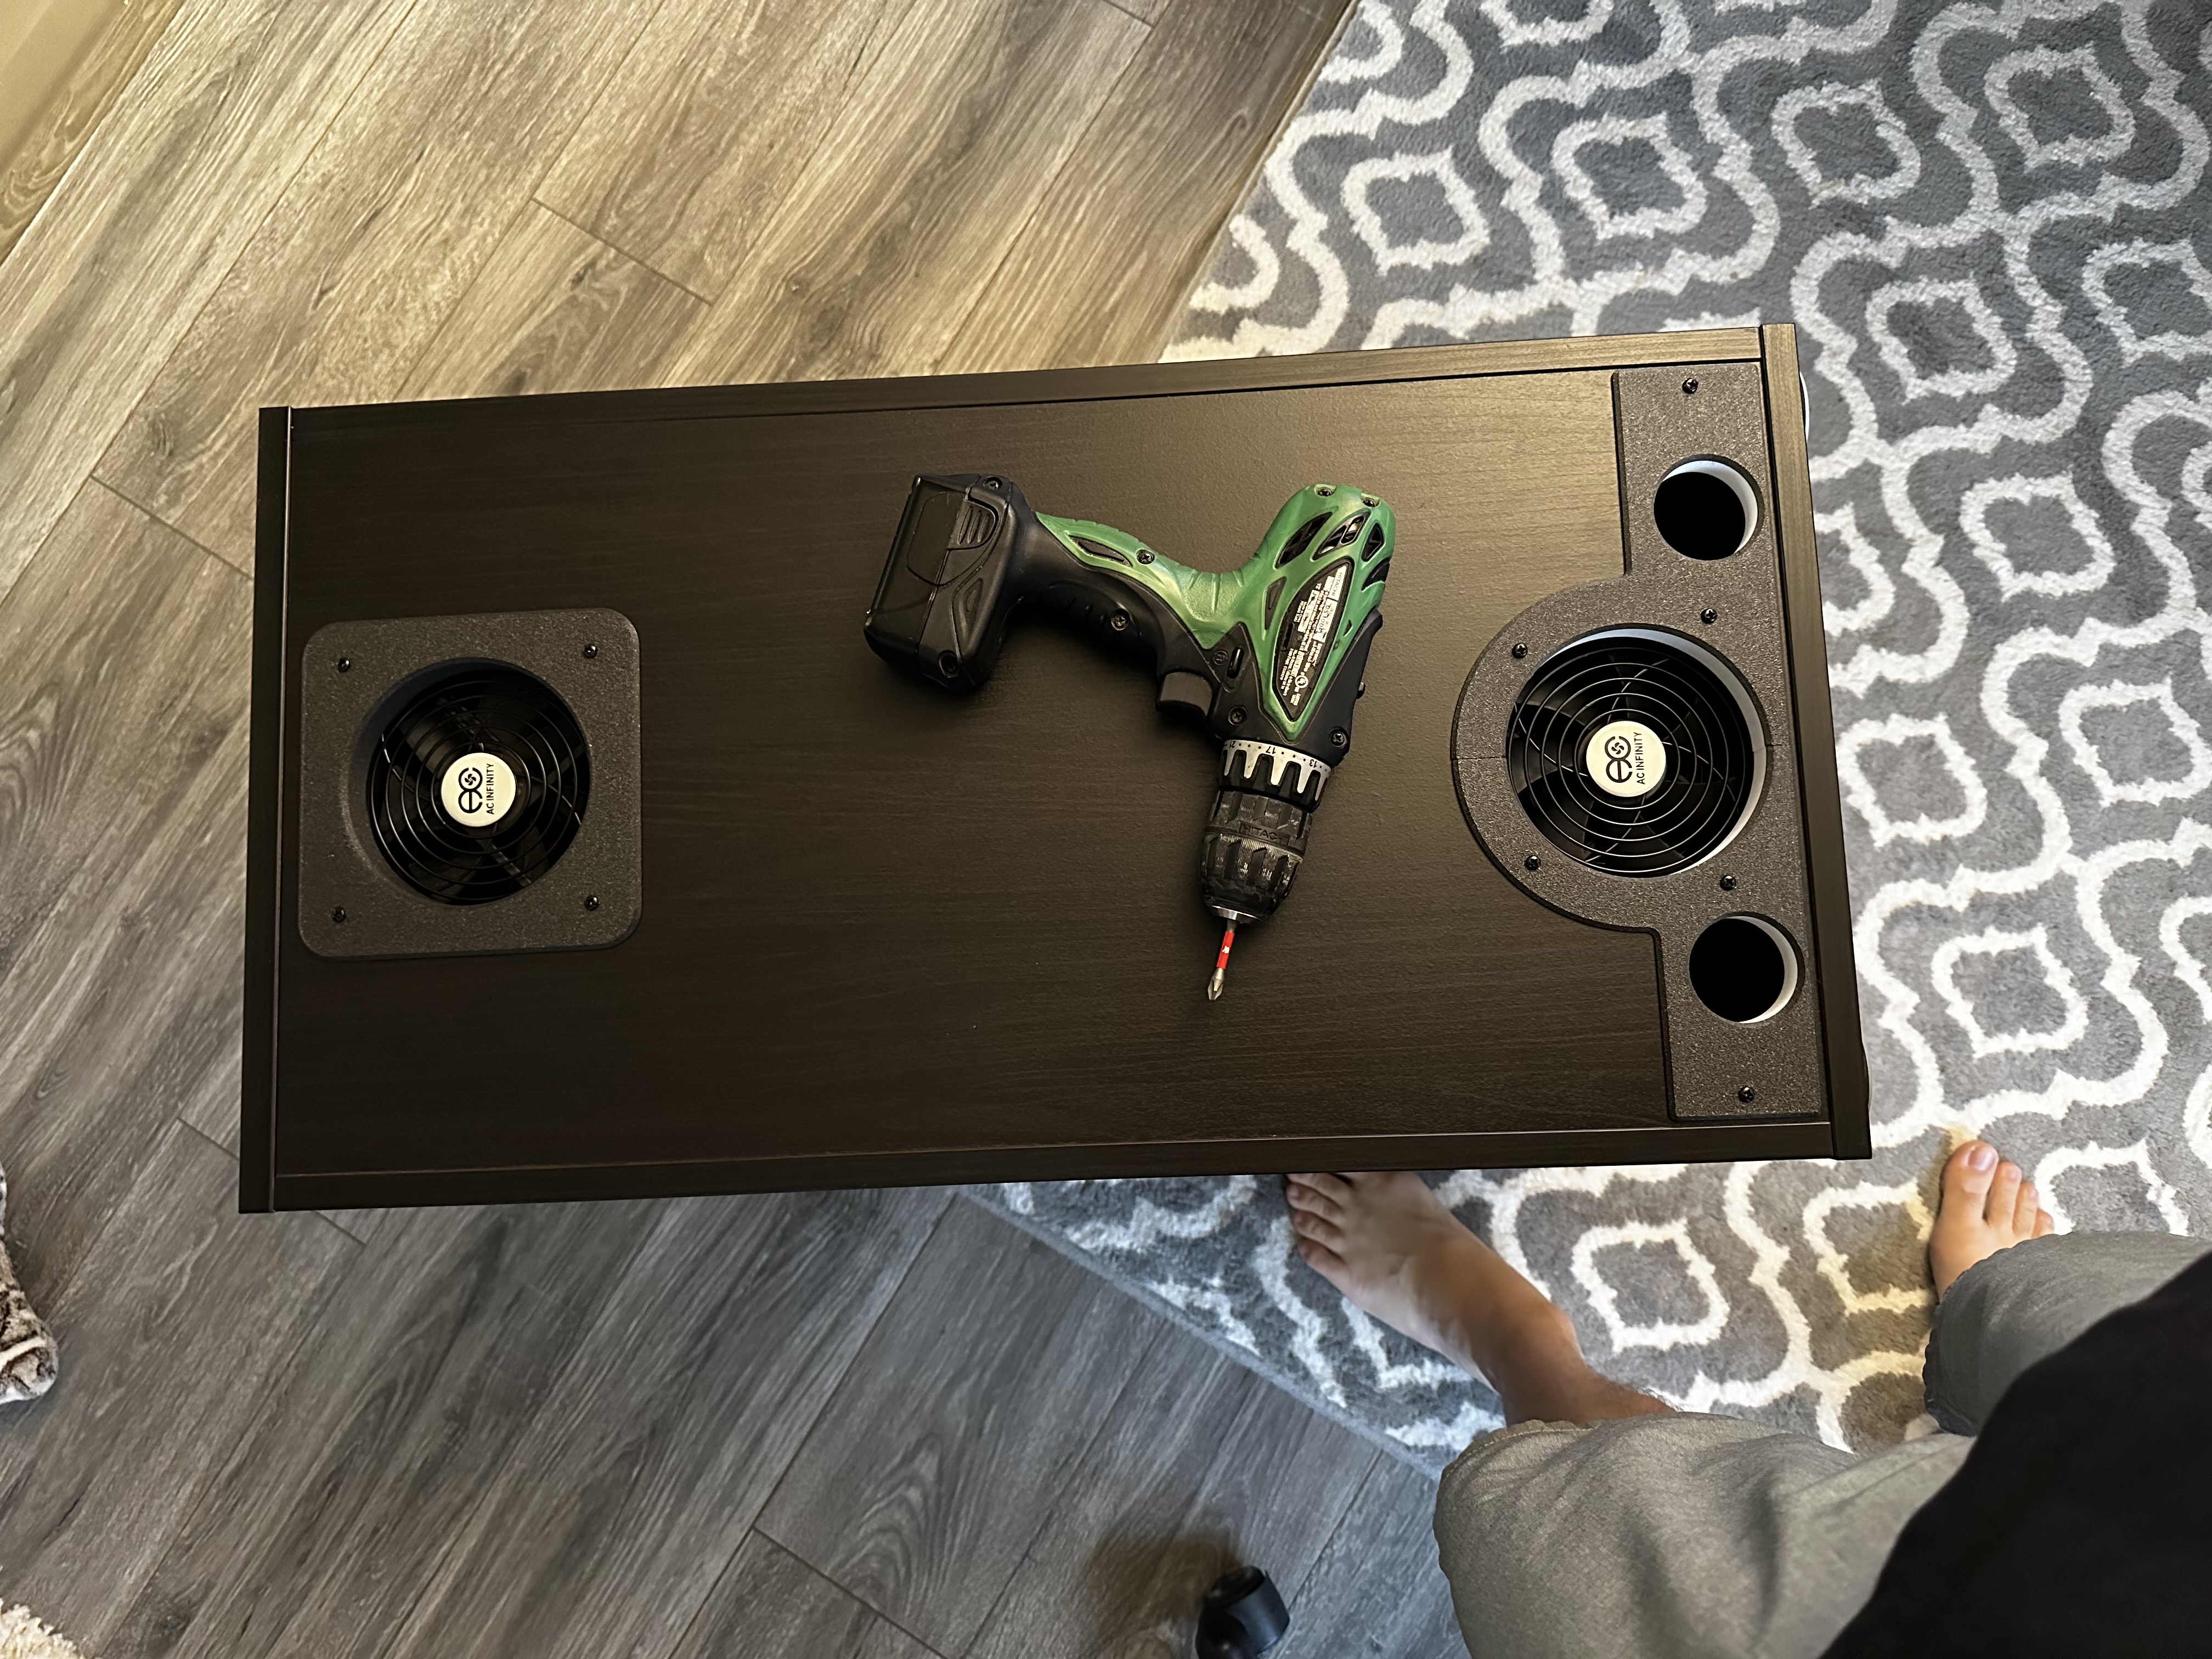 It came out pretty nice!
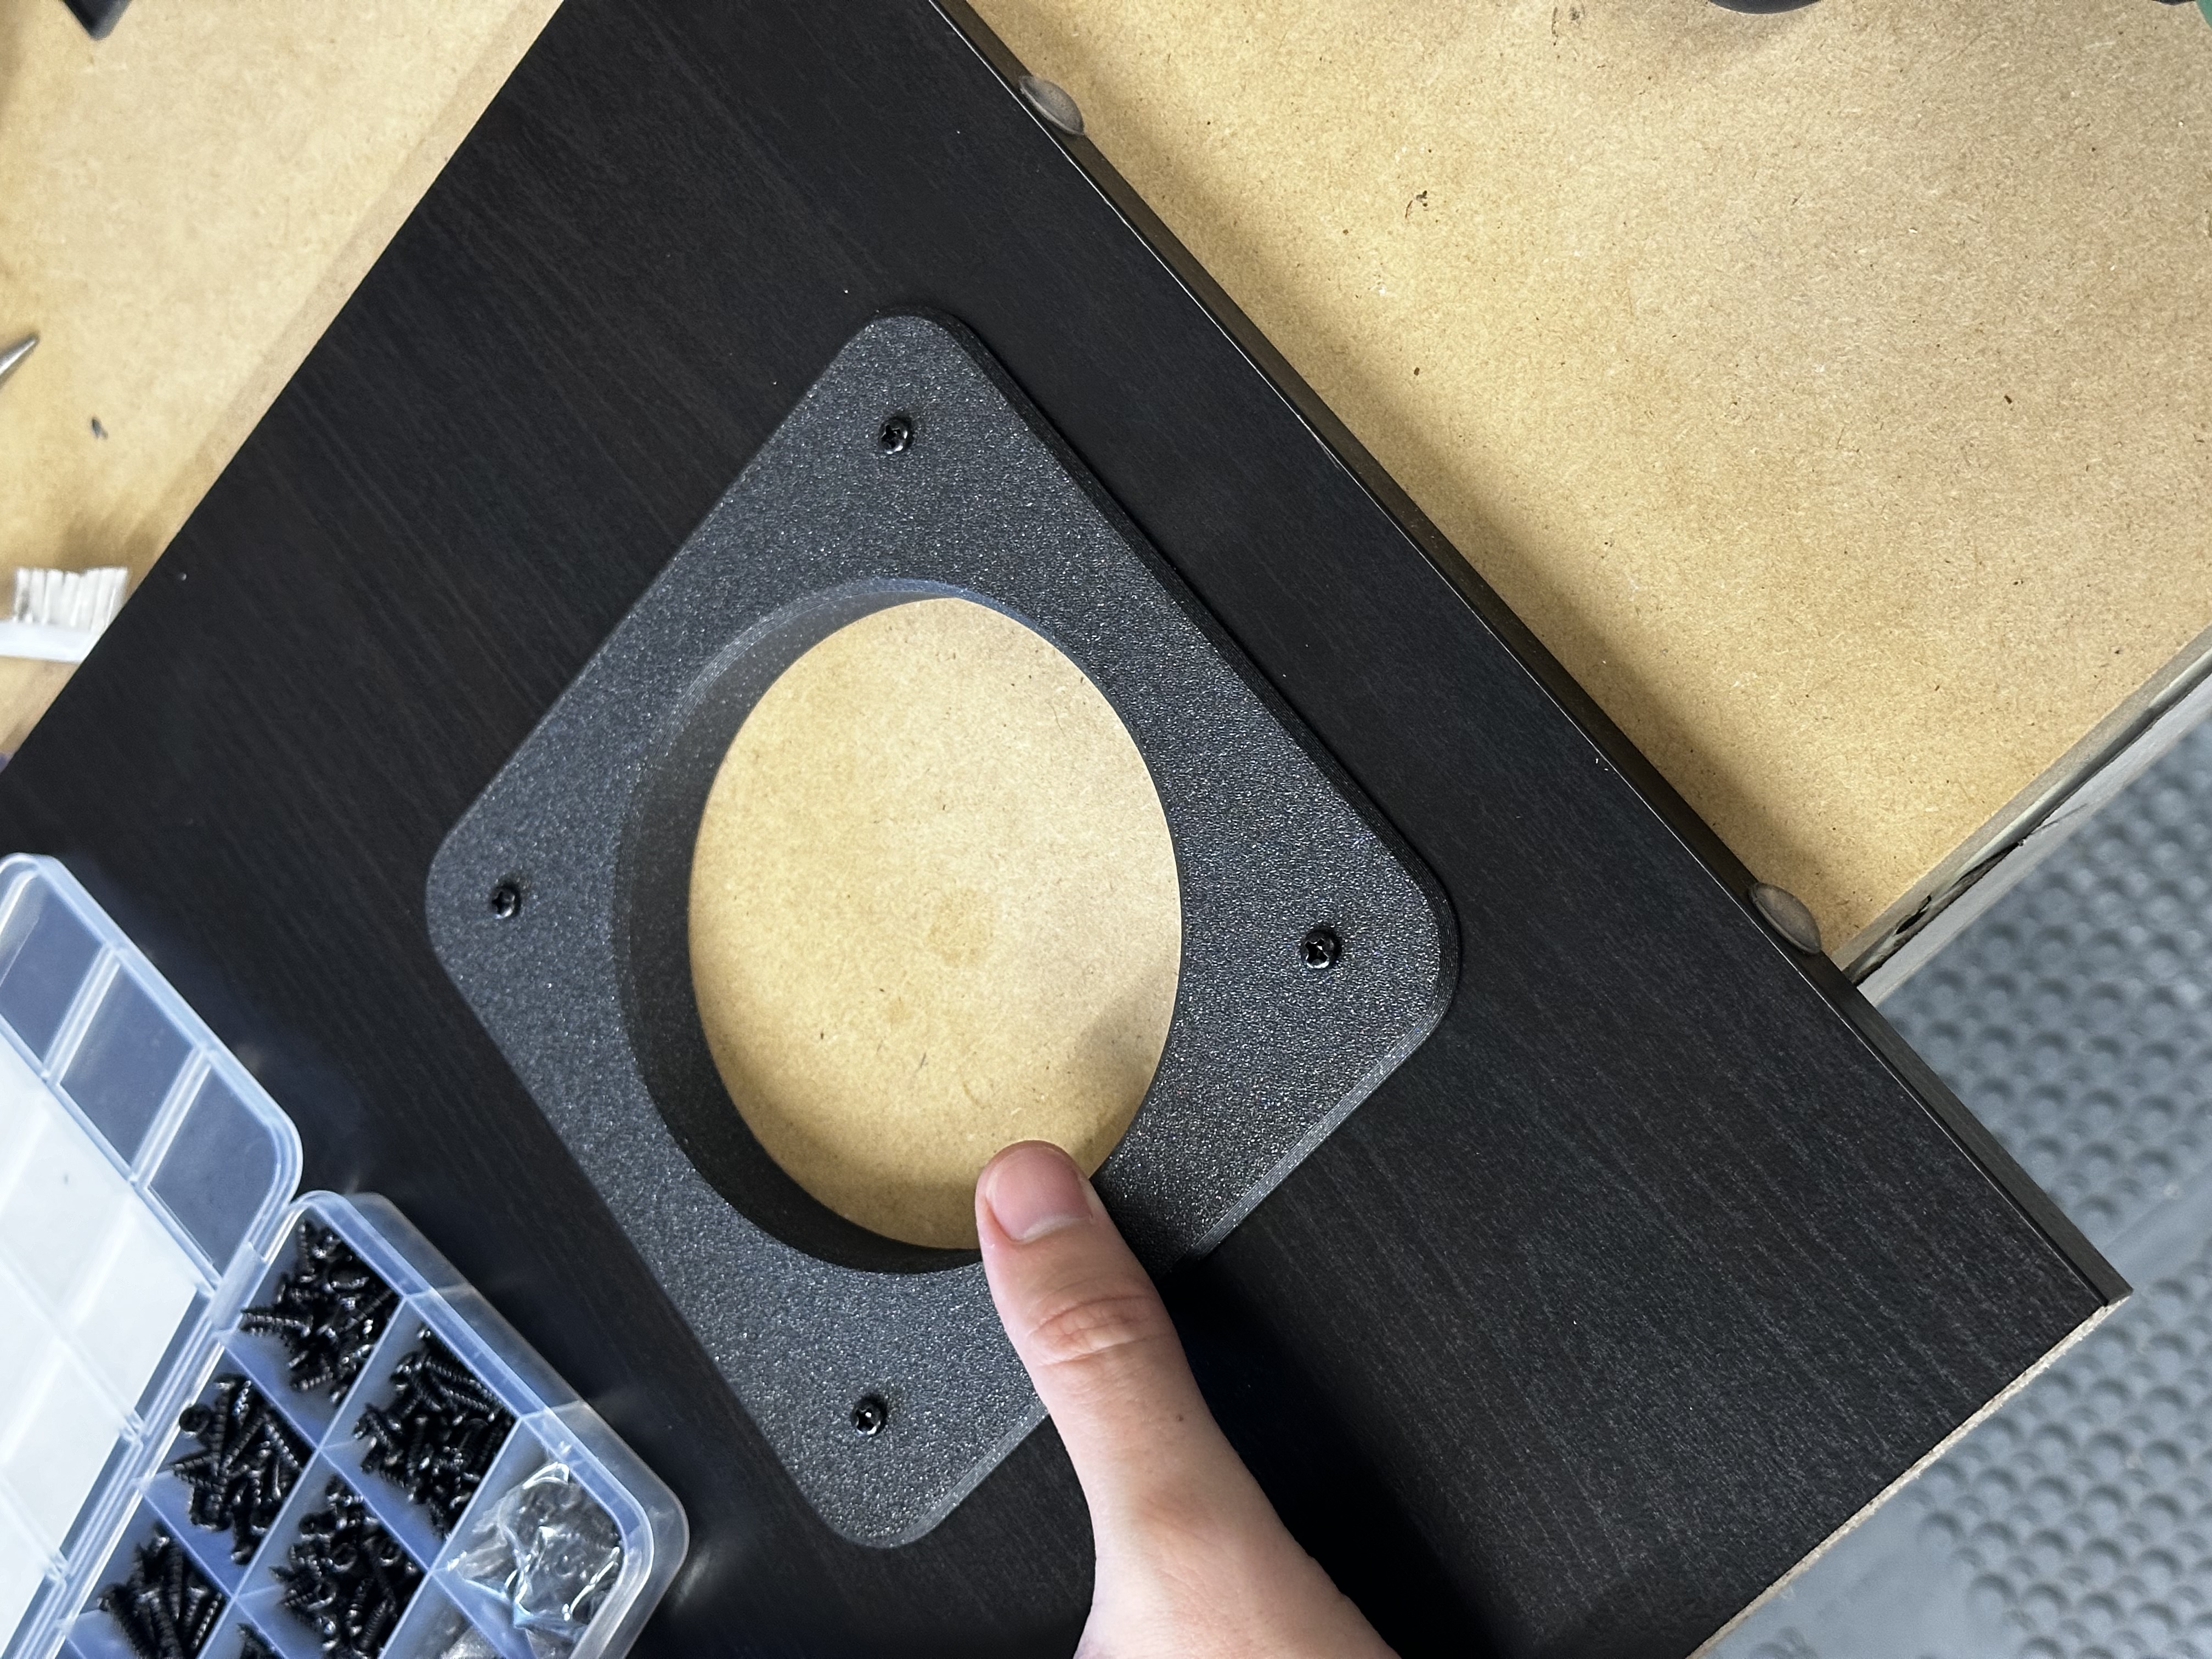
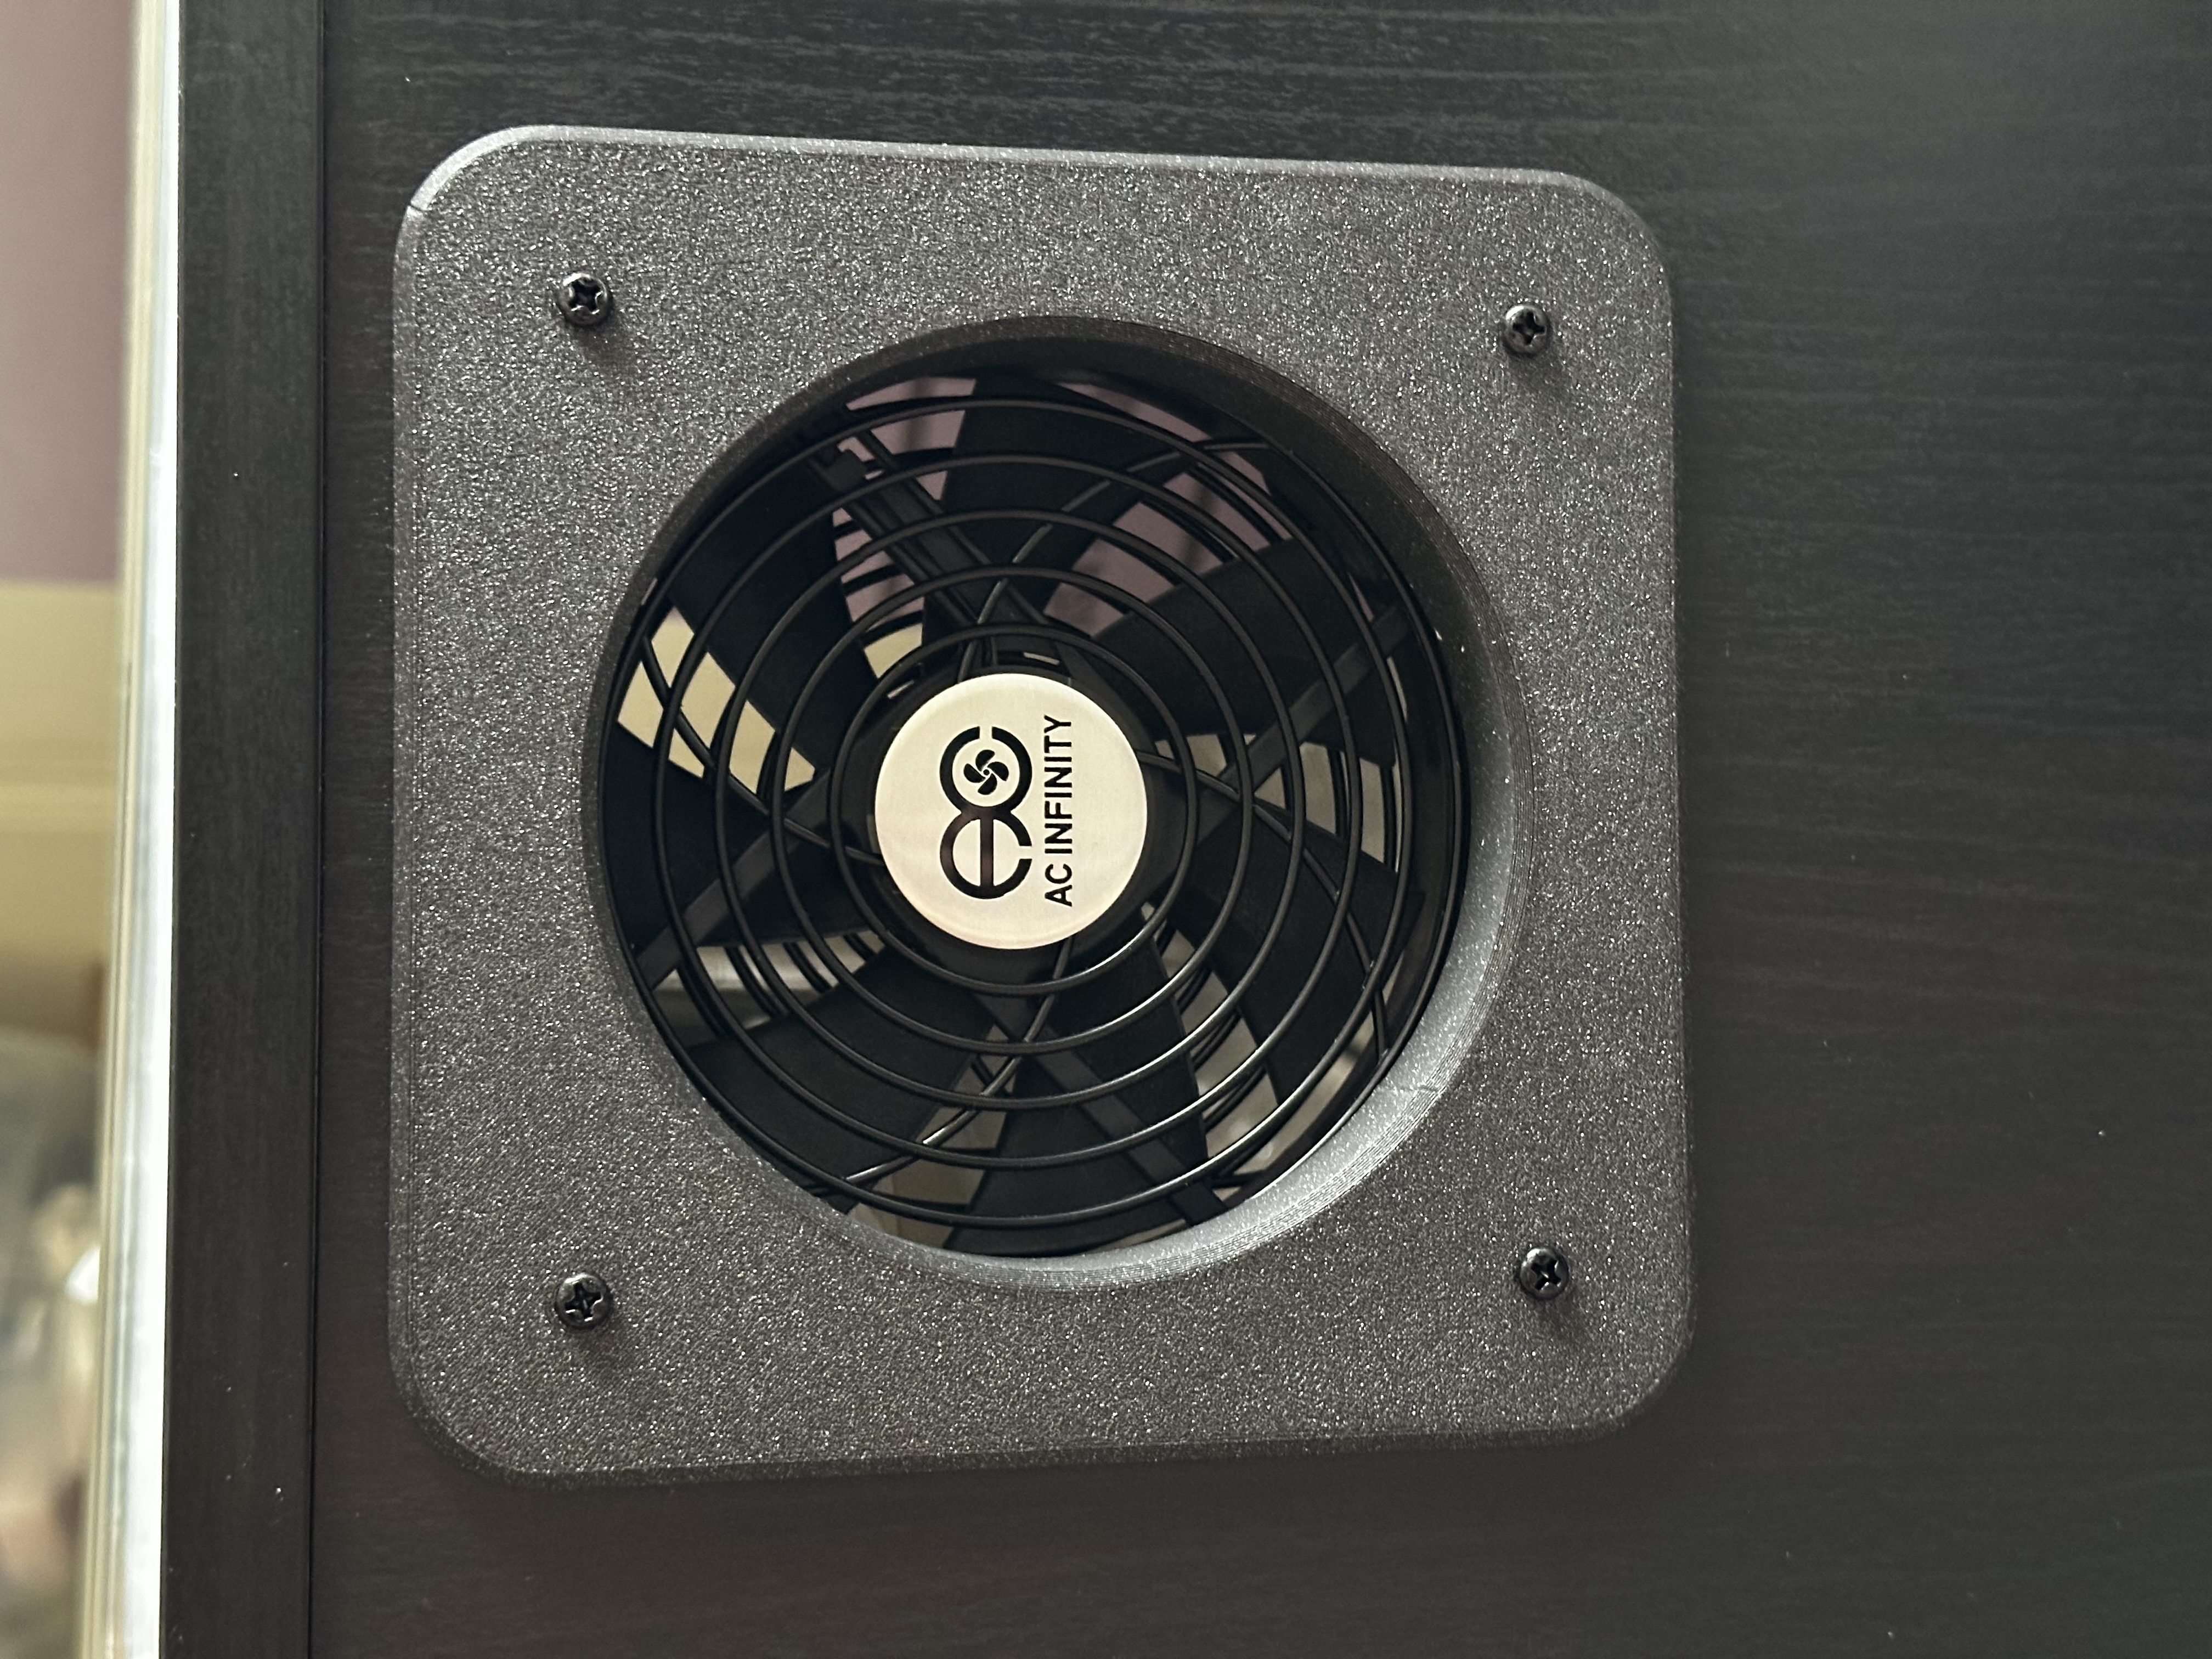 Here's the simpler grommet I did for the top
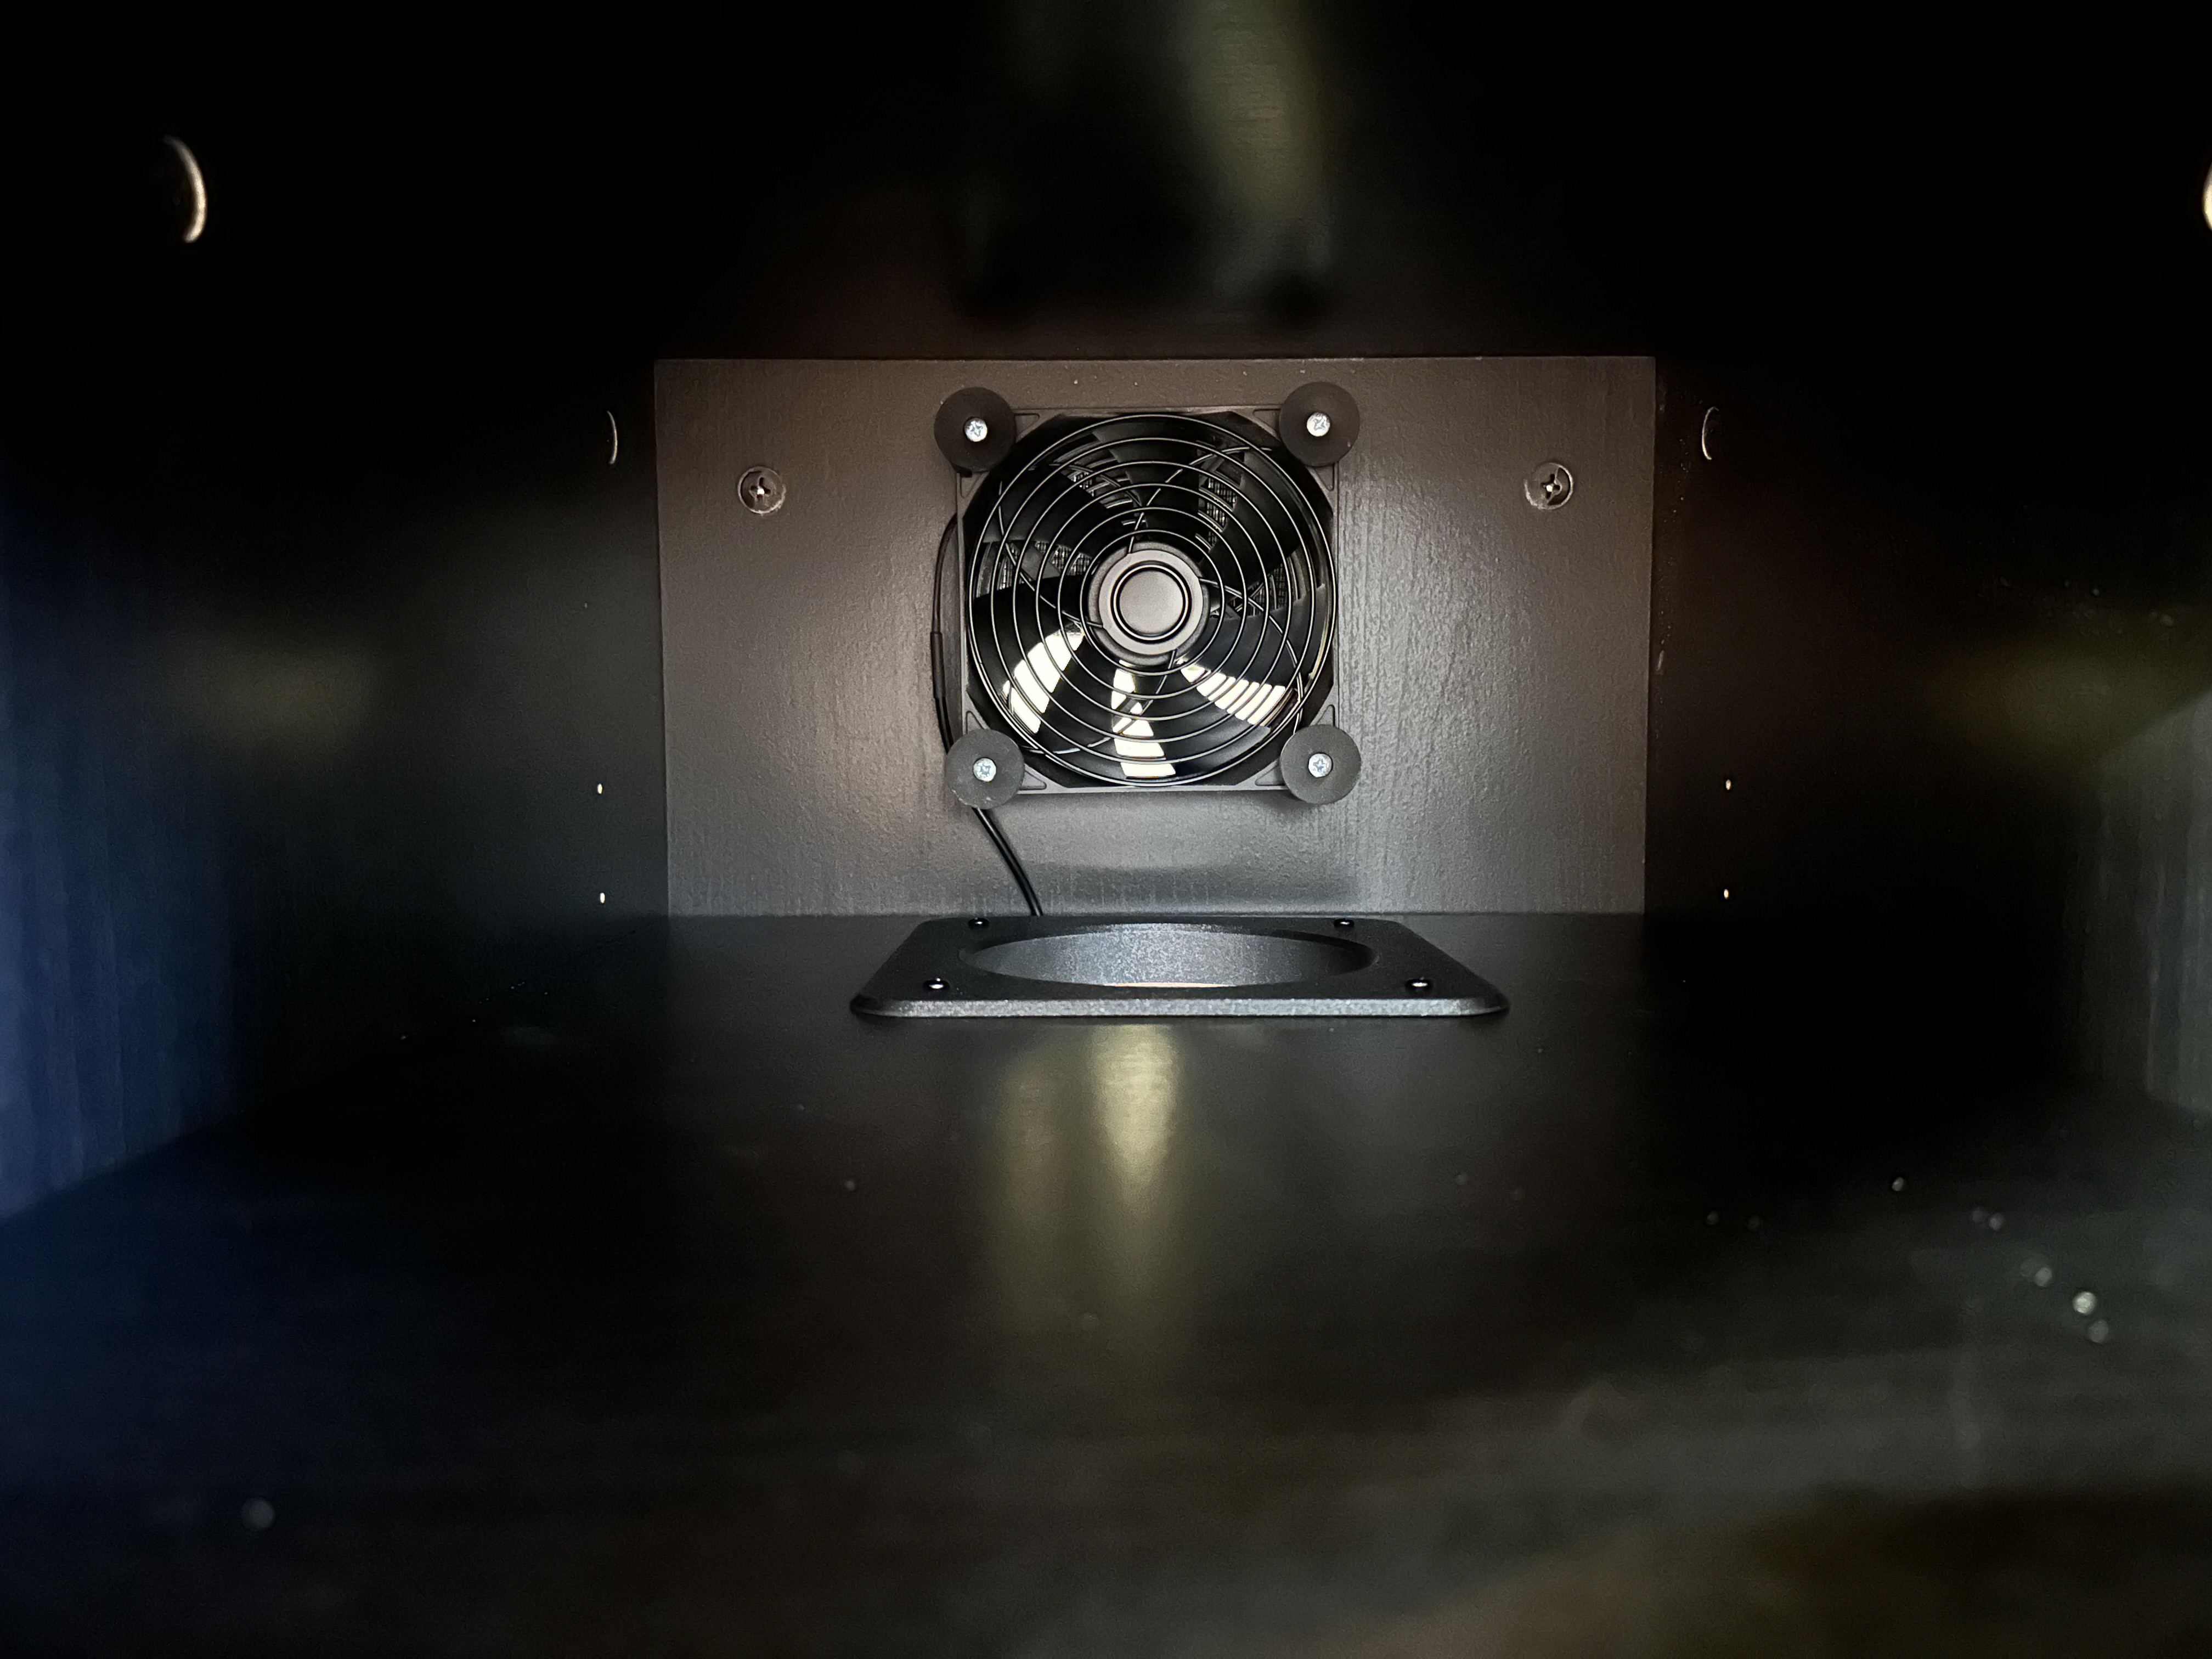
Seen below, I added an extra hole at the back of the shelf for improved airflow. The shelf sits in the middle of the unit between the intake (bottom) and exhaust (top), so without it, the static pressure builds up, and the fans don't move as much air.
A quick note on 3D printing: My go to filament is Prusament Galaxy Black due to its incredible surface texture and ability to see details due to its contrast, but the FlashForge stuff is nearly as good, costs a fair bit less, and is available on Amazon Prime. I've probably gone through 10 spools of Prusament, and this is my first spool of FlashForge, but so far I'm very happy with its results!
Now I added the custom (but simple) L-brackets I ordered off of SendCutSend. Their prices on one-off work are unbeatable with a minimum of $29, so for a quantity of 2, it ended up being ~$60 total. Because I didn't get any post-processing, painting, or finishing, they arrived in 2 days.
I still want 2 more brackets for the back (for mounting drawer slides), but I figured I'd wait to see if I liked these brackets first. Also I realize that $120 on brackets alone is too much for most people to want to start this project, so if enough people want something like this, I could order a bunch from China (I've worked with metal shops before when building PiBox, and I expect it would be ~$5 per bracket or less in bulk)
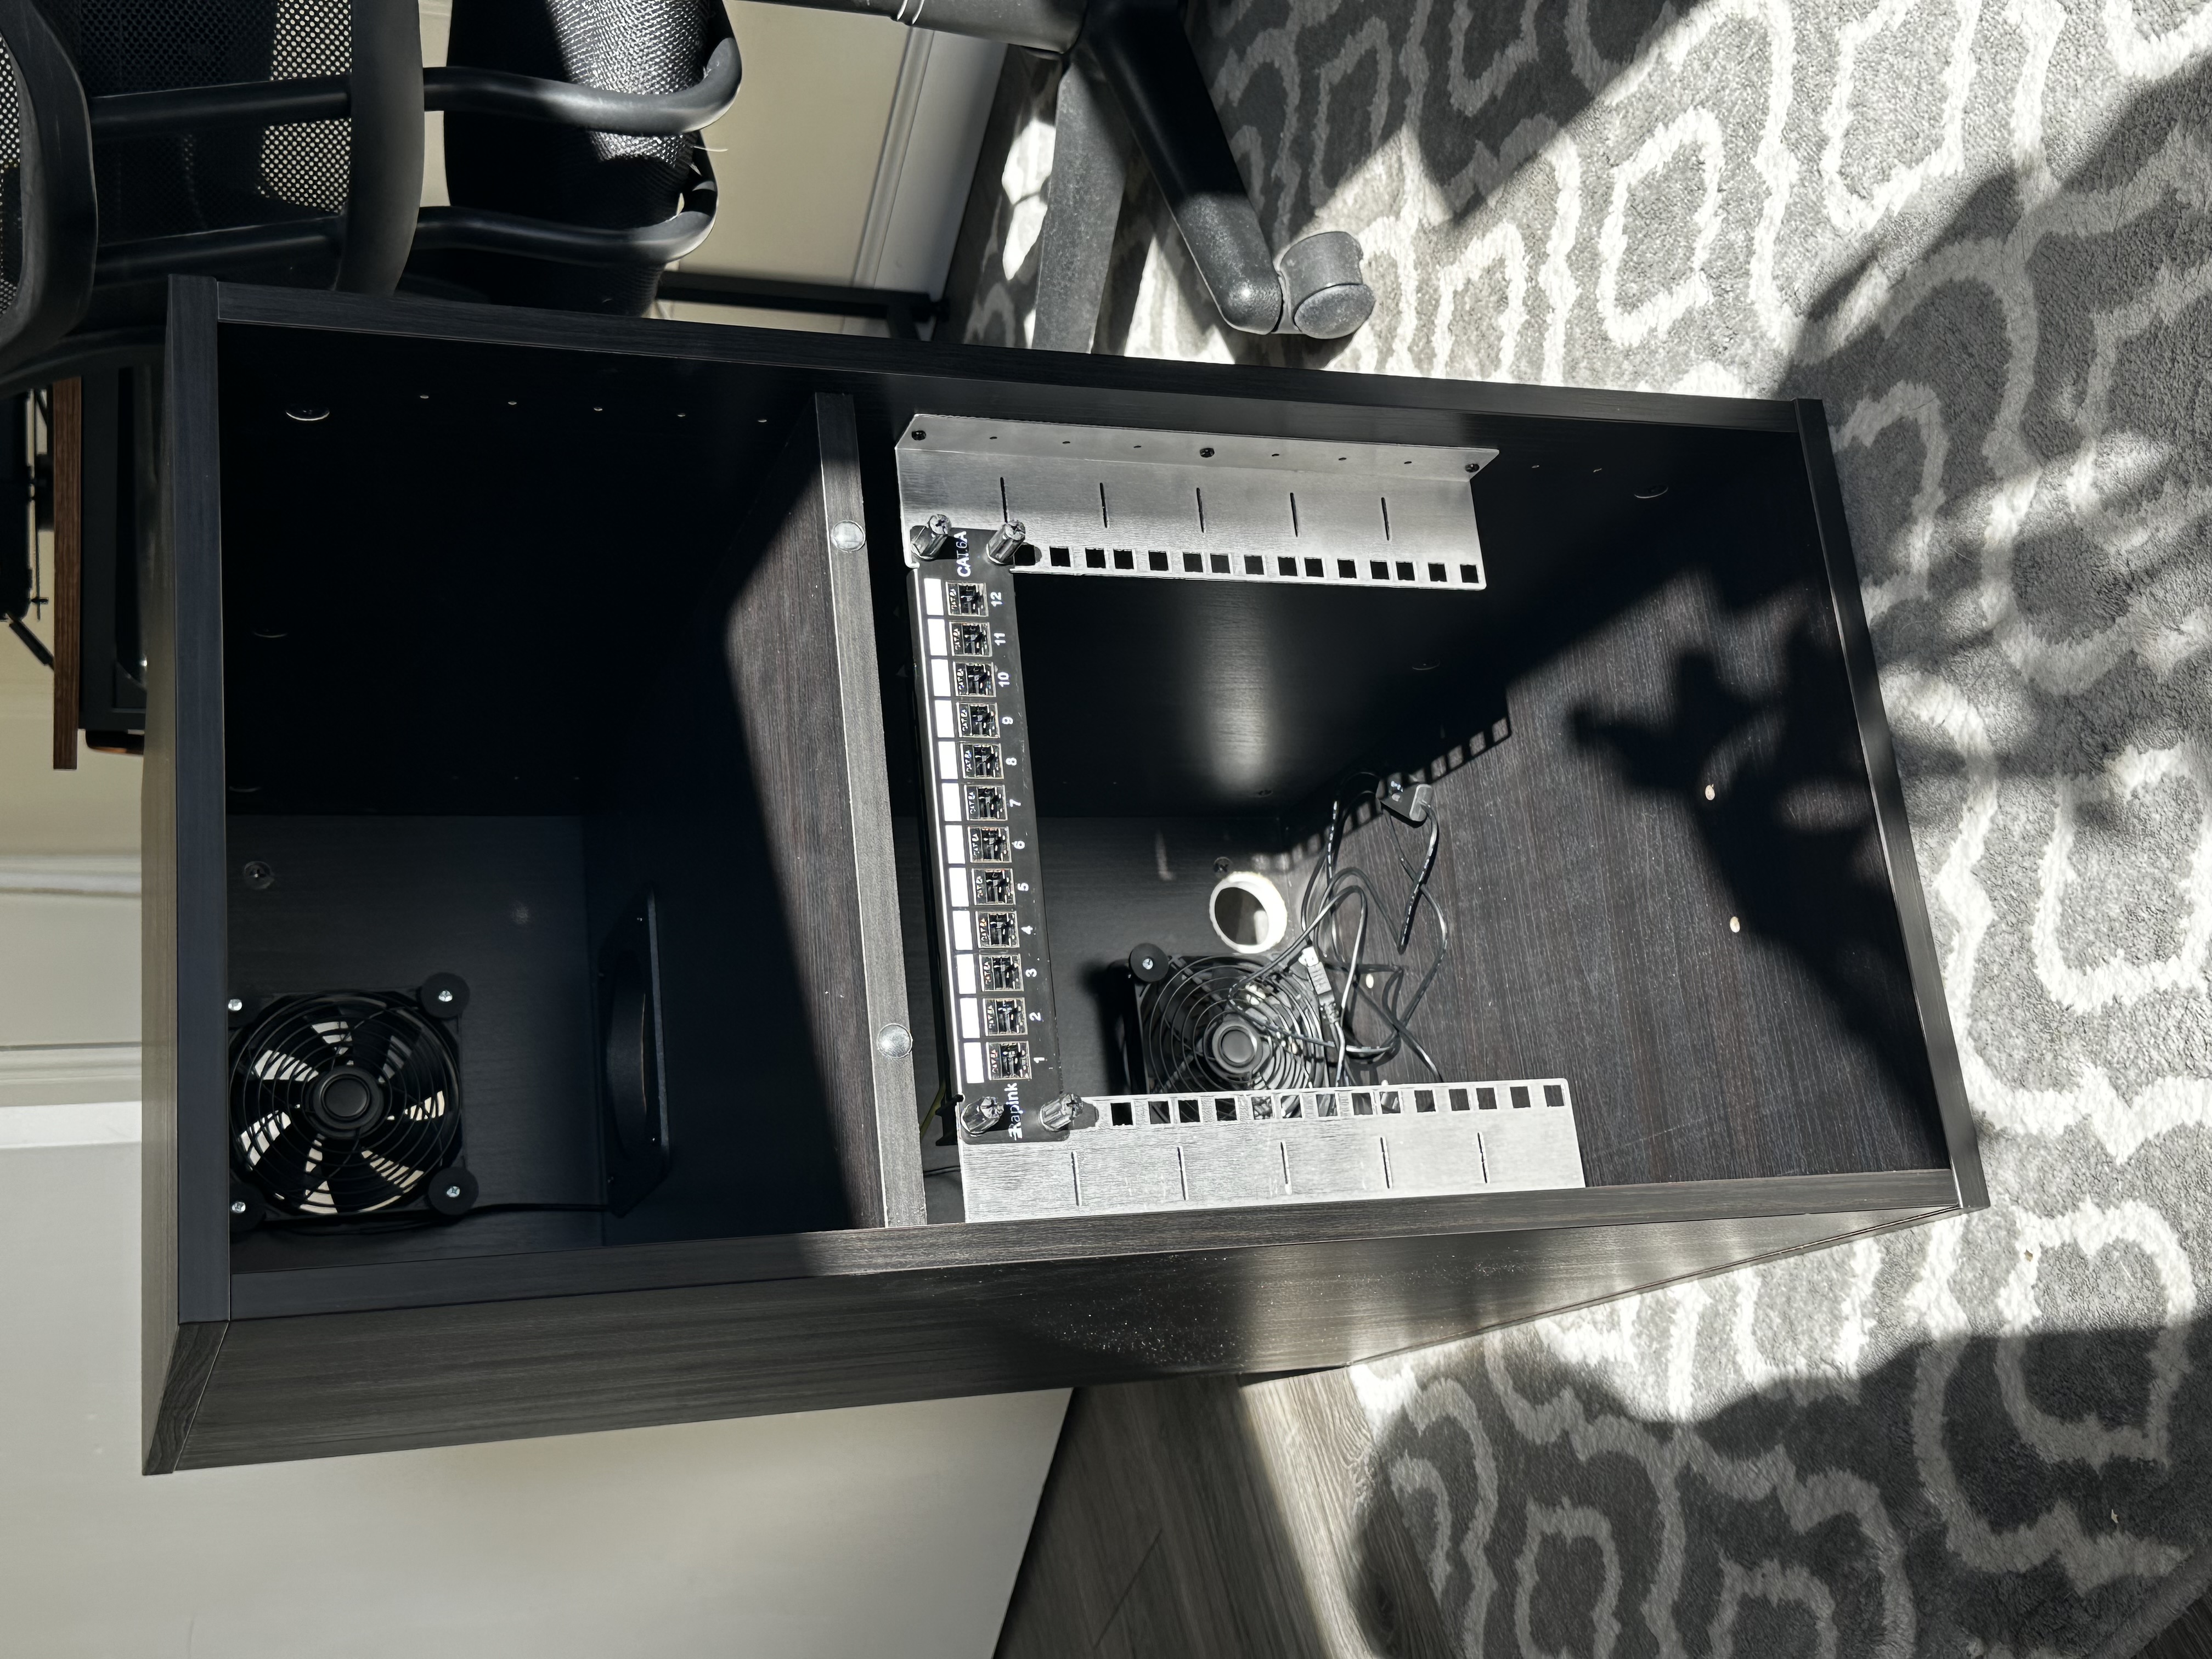
Now its time to start filling it up with gear! For networking devices I try to stick to commodity hardware and use the cheapest option that gets me ~ gigabit speeds. My internet is about that fast, and I really don't need anything more on my LAN for now. Even 802.11ac is fast enough for my wireless devices. My theory is that a cheap APs in every room is better than a few expensive ones scattered throughout your house.
So on that note, I have a few commodity devices for my main network that I'll need to create custom mounts for. The router and two switches get me 10 total ethernet ports (2 spare router ports, 4 switch ports, 4 PoE switch ports).
It took me a few weeks of iterating to find a design I was happy with, but I finally narrowed it down to one that's flexible enough for most devices, but solidly holds the equipment. The idea is to use the keyholes on the underside of the device for mounting.